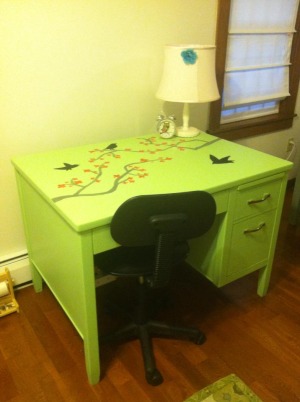
 "Oh, you're taking a picture? I'll just sit right here, out of the way..."I took a break (and by break, I mean obsessively focusing on an unnecessary task) from writing and working the past couple days to work on another furniture project.
I found this aging beauty at the auction barn last weekend. 
I had lost out on an antique oriental rug, a 1920s bookcase, and an incredible plank dining table and chairs, and was too full from dinner for pie. All in all, it was turning out to be a bust.
Enter this Victorian-era game table. Can you believe I scored this for $10? Ten. Dollars. Wha?
Yes, it was faded and scratched. And, yeah, someone did repair it by driving nails up through it. (This meant nail ends jutted through the open slots where you would keep game pieces. Tonight’s game: Who Wants Lockjaw?!)
But it was solid mahogany! 
And it had feet! Cute little brass feet.
After my husband made repairs and removed the nails, I made my own chalk paint (it's easy!) and did a base coat of smoke ember gray. I did a crackle effect by then covering it in Elmer’s glue. When the glue got slightly tacky, I did a top coat of a creamy white paint. If I could do it again, I’d wait a little longer before putting on the top coat. The glue wasn’t tacky enough to really do a great job with crackling.
After that dried, I sanded it and destressed it. Then I added a reminder to play nice: This Victorian-era graphic of shaking hands from The Graphics Fairy.

There’s a cool trick I learned on that site of rubbing the back of a printed graphic with chalk, laying over the piece you want to paint, and then tracing over the design with pencil. This should leave an impression of the graphic on the piece, which you can then paint over. It usually works for me. But this time, not so much. I don’t know why but the chalk just barely showed. I ended up doing most of it freehand by looking at the graphic. Again, if I could go back, I’d do it differently, this time smaller.
Finally I put on a heavy coating of wax and it was done.
 "Oh, please don't take my picture! I'm so shy!"
Enter the chair situation.
“What chair situation?” my husband asked.
"The lack of chair situation,” I replied.
And we weren’t going to be able to go back to the barn for two weeks!
Suddenly I remembered these battered chairs from our first kitchen table after getting married. Yup, it's on its side. Nope, don't know how to fix it.
These Wal-Mart chairs have been living in our basement, except for when we moved some (why? I dunno know) up into storage above the garage. But I wanted upholstered chairs.
So I upholstered them. Which, honestly, was a lot more work than I thought it would be. But I like the way they turned out.
I painted them both white with chalk paint. Then I popped out the seat base, covered it with padding (a section cut from a full-size mattress pad) and used spray adhesive to stick on the fabric. Then I stretched and stapled it underneath. This was easy peasy.
Making the back covering was another story. It might’ve involved cutting an IKEA pillow in half.
I’m going to get around to adding some trim around the edges but for now, it’ll do.
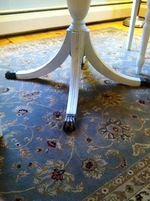 I'm so in love with these feet.


